
Are you ready to dive into the world of ESP32-S3 development? The Freenove ESP32-S3 Breakout Board is a powerful tool for makers and developers alike. With its advanced features, it opens up endless possibilities for your projects. But before you can unleash its potential, configuring PlatformIO is essential. This guide will walk you through every step needed to get started seamlessly. Whether you’re a beginner or an experienced developer, you’ll find valuable insights here that make the process smooth and enjoyable. Let’s explore how to configure PlatformIO for the Freenove ESP32-S3 Breakout Board!
Understanding the hardware is crucial for any project. The Freenove ESP32-S3 Breakout Board offers unique features that can significantly enhance your development experience. Familiarizing yourself with these specifications sets a solid foundation.
Next, installing PlatformIO is essential for seamless programming and debugging. This step will streamline your workflow and make it easier to manage libraries and dependencies.
Selecting the correct board in PlatformIO ensures compatibility with the ESP32-S3’s capabilities. Proper configuration of flash settings and PSRAM usage maximizes performance, allowing you to fully leverage this powerful breakout board in your projects.
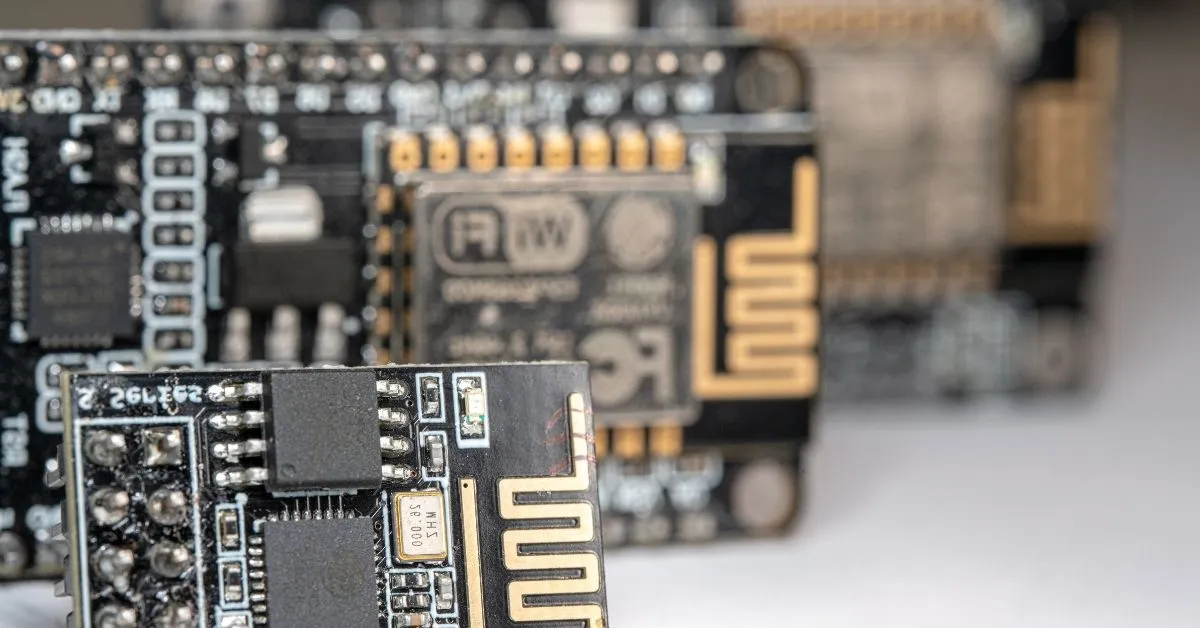
The Freenove ESP32-S3 Breakout Board is a versatile platform for IoT projects. It features the powerful ESP32-S3 chip, which combines Wi-Fi and Bluetooth capabilities, making it ideal for wireless applications.
Designed with multiple GPIO pins, this board allows easy connectivity to various sensors and modules. Its compact size makes it suitable for tight spaces without sacrificing functionality.
Additionally, the onboard USB-C port simplifies power supply and programming. This feature enhances user experience by ensuring fast data transfer while providing a reliable connection during development processes.
To start developing with the Freenove ESP32-S3, you’ll first need to install PlatformIO. This powerful IDE integrates seamlessly into Visual Studio Code, making it easy to manage your projects. Begin by downloading Visual Studio Code from its official site.
Once installed, head to the extensions marketplace within VS Code and search for “PlatformIO IDE.” Click on the install button, and let it handle everything automatically. After installation is complete, you can access PlatformIO through the sidebar menu.
Now you’re ready! Launch PlatformIO and create a new project specifically for your ESP32-S3 breakout board.
Selecting the correct board in PlatformIO is crucial for successful development with your Freenove ESP32-S3 Breakout Board. Begin by opening the PlatformIO IDE and navigating to the board manager.
Here, you can search for “ESP32-S3” to find compatible options. Ensure you choose the one specifically labeled for your breakout board model to avoid compatibility issues.
Once selected, double-check that all settings align with your hardware specifications. This initial step lays a solid foundation for uploading sketches and utilizing features like Wi-Fi or Bluetooth effectively.
Configuring Flash and PSRAM is essential for optimal performance of the Freenove ESP32-S3 Breakout Board. Start by selecting the appropriate flash size in your PlatformIO configuration file, typically found in `platformio.ini`.
For example, most boards support 4MB of flash memory. Ensure you set this value correctly to avoid issues during code execution.
Next, if your project requires additional RAM resources, enable PSRAM support within the same config file. This boost can significantly enhance capabilities for complex applications and multitasking scenarios on your board.
To upload firmware to the Freenove ESP32-S3, connect your board to the computer using a USB cable. Ensure that you have selected the correct port in PlatformIO. This step is critical for successful communication between your device and the IDE.
Next, navigate to the “Upload” option in PlatformIO. The process will compile your code and flash it directly onto the board. Watch for any error messages that may arise during this phase.
Setting up a serial monitor allows you to view real-time data from your ESP32-S3. Simply open the serial monitor after uploading, and adjust baud rate settings as needed for optimal performance.
Boot errors are common when working with the Freenove ESP32-S3 breakout board, and identifying their root causes can be tricky. One frequent issue is power supply problems. Ensure your connections deliver sufficient voltage; otherwise, the board might not boot successfully.
Another potential cause could be incorrect wiring. Double-check all your connections to confirm they match your circuit diagram. Loose or misplaced wires can disrupt the startup sequence.
Firmware conflicts may arise if incompatible libraries or settings are used during development. Keeping software updated and well-organized helps prevent these issues from hindering progress on your project.
When choosing between Arduino and ESP-IDF for production, consider your project’s requirements. Arduino offers simplicity and ease of use, making it great for beginners or rapid prototyping. Its extensive library support can speed up development times significantly.
On the other hand, ESP-IDF provides a more robust set of features tailored specifically for the ESP32-S3 architecture. It allows finer control over hardware resources and optimizations that can enhance performance in demanding applications.
The choice hinges on whether you value quick deployment or need advanced capabilities to handle complex tasks effectively. Each framework has its strengths worth exploring based on project goals.
Transitioning from prototype to production requires a solid hardware planning strategy. Start by assessing your prototype’s performance and reliability. Identify any potential issues that could arise during mass production.
Next, consider manufacturing options. Whether you choose in-house or partner with a third-party manufacturer, ensure they can meet quality standards. Evaluate costs and timelines to avoid unexpected delays.
Think about scalability. Design your hardware for easy upgrades or modifications to accommodate future features. Flexibility will be crucial as project requirements evolve over time, helping you stay competitive in the fast-paced tech landscape.
When embarking on your ESP32-S3 development journey, having the right components is crucial. A recommended Bill of Materials (BOM) typically includes essential items such as a reliable USB-C cable for powering and programming your board.
Don’t forget to include jumper wires for easy connections and prototyping. Breadboards can also be beneficial for testing circuits without soldering anything permanently.
Additionally, consider adding sensors and modules that will enhance your projects. Components like temperature sensors, OLED displays, or Wi-Fi modules can significantly expand functionality while making development more enjoyable.
Successfully configuring PlatformIO for your Freenove ESP32-S3 Breakout Board opens a world of possibilities. You can create innovative projects with ease once you understand the hardware and set up your development environment correctly. From selecting the right board to troubleshooting boot errors, each step is vital for seamless operation.
Choosing between Arduino and ESP-IDF also impacts your project’s direction, while proper planning ensures smoother transitions from prototype to production. With the recommended BOM in hand, you’re well-equipped for successful development.
Embrace this journey into IoT with confidence! Whether you’re a beginner or an experienced developer, mastering these skills will elevate your project outcomes dramatically. Happy coding!